The Cyanotype process is a printing process that produces a Cyan-blue image. This process was used in the 20th century as a simple low costing way to copy drawings and blueprints. The process uses two chemicals, Potassium ferricyanide and Ammonium iron citrate.
|
Potassium Ferricyanide:
Health: 2 Fire: 0 Reactivity: 0 Safety Procedure: Eye Contact: Check for and remove any contact lenses. In the case of contact, immediately flush eyes with water for at least 15 minute(cold water can be used). If irritation still occurs seek medical attention. Skin Contact: Wash with soap and water(cold water can be used). Use emollient and cover the irritated skin. If irritation develops get medical attention. Wash any and all contaminated clothes before wearing them again. |
Ammonium Iron Citrate:
Health: 1 Fire: 1 Reactivity: 0 Safety Procedure: Eye Contact: Check for and remove any contact lenses. In the case of contact, immediately flush eyes with water for at least 15 minute. Get medical attention. Skin Contact: Remove all and any contaminated clothes. Immediately flush your skin with plenty of water(cold water can be used). Use emollient and cover the irritated skin. If irritation develops get medical attention. Wash any and all contaminated clothes before wearing them again. |
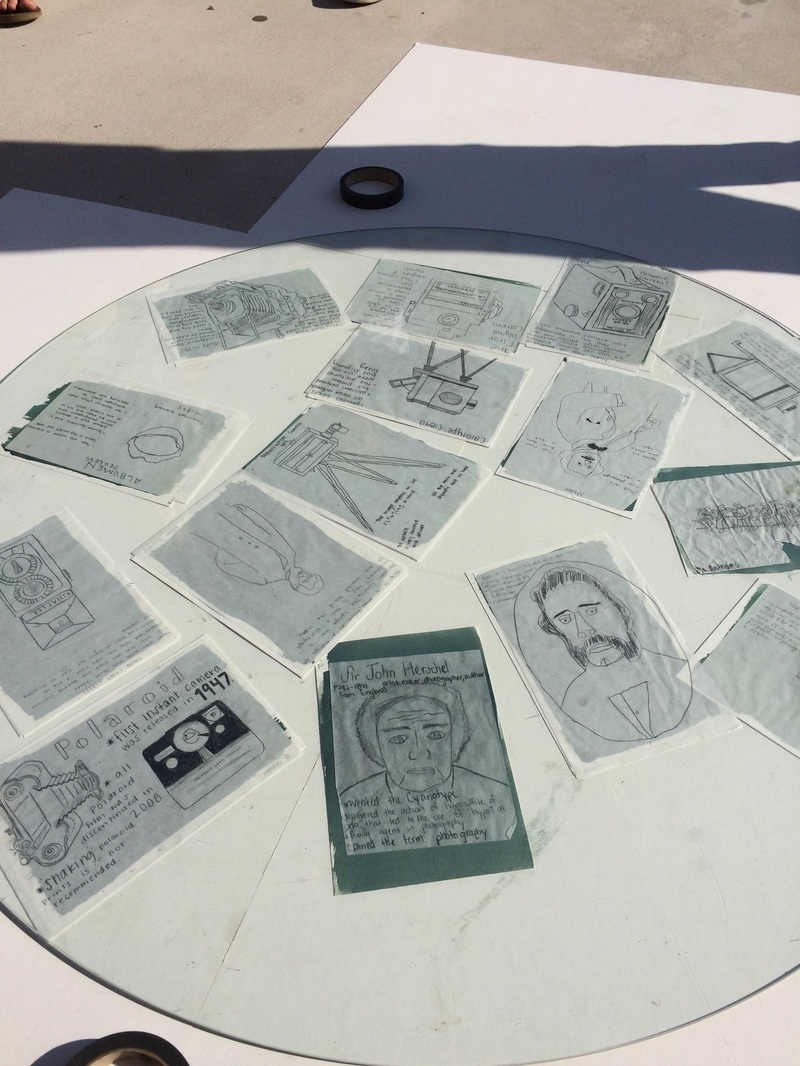
The Cyanotype Process
Questions:
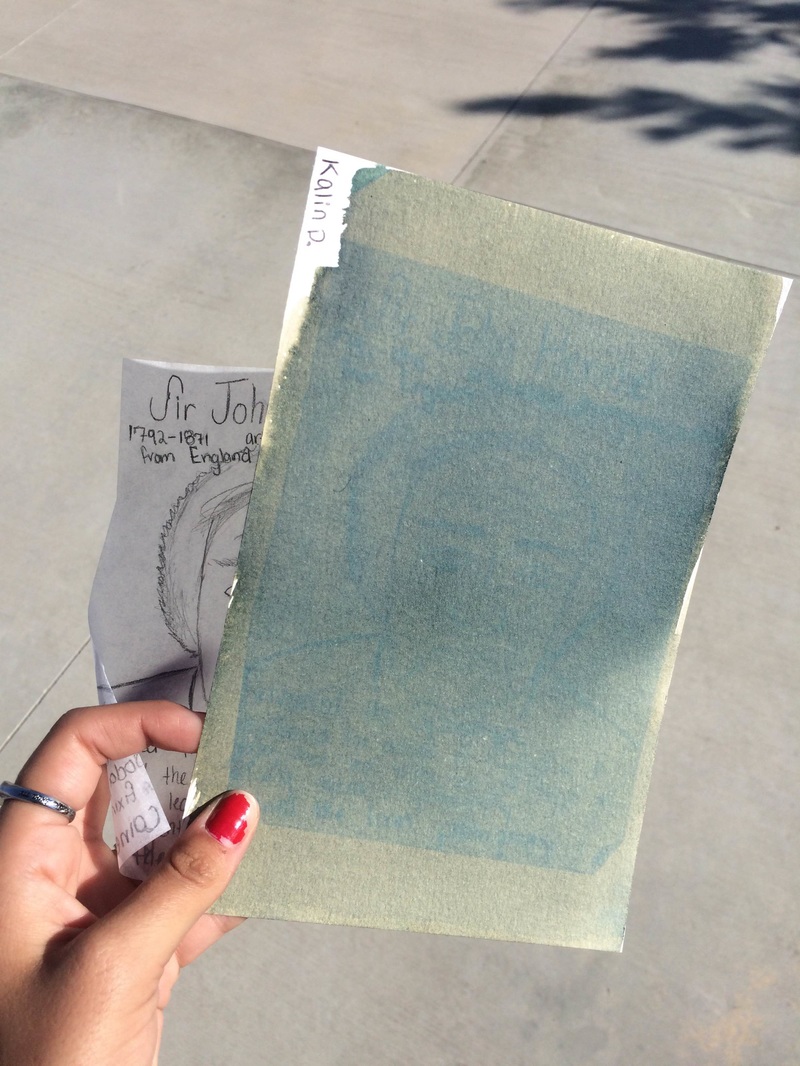
1. The color of the cyanotype emulsion was a light greenish-yellow.
2. When my cyanotype was in the sunlight the sketching paper sat on top of my emulsion covered paper. Where the pencil lines where thicker then because a light blue, and/ or white. The rest of the paper remained blue, this happened due to the fact that the pencil shading blocked light flow.
3. When my cyanotype came out from under the class it look like a darker blue and you could hardly see your picture outline.
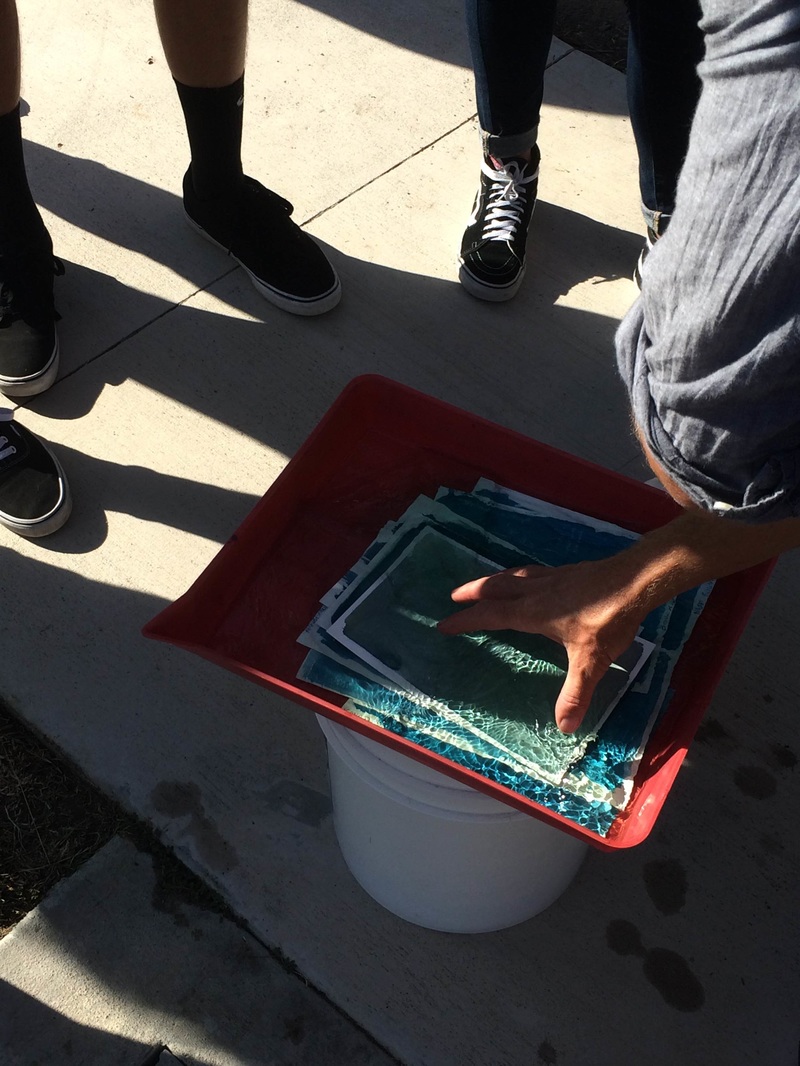
4. When the pictures were placed in the water they became even darker. The outline from where your pencil lines were became white and everywhere else became darker. This was able to happen due to the cyanotype emulsion attracted the sunlight, and the sketching paper allowed for light to get blocked.
5. I found this super interesting, and it was also my first day in this class. If I were to do this again I would make my pencil lines neater and darker to get a better outcome.
1. The color of the cyanotype emulsion was a light greenish-yellow.
2. When my cyanotype was in the sunlight the sketching paper sat on top of my emulsion covered paper. Where the pencil lines where thicker then because a light blue, and/ or white. The rest of the paper remained blue, this happened due to the fact that the pencil shading blocked light flow.
3. When my cyanotype came out from under the class it look like a darker blue and you could hardly see your picture outline.
4. When the pictures were placed in the water they became even darker. The outline from where your pencil lines were became white and everywhere else became darker. This was able to happen due to the cyanotype emulsion attracted the sunlight, and the sketching paper allowed for light to get blocked.
5. I found this super interesting, and it was also my first day in this class. If I were to do this again I would make my pencil lines neater and darker to get a better outcome.
While they were in the sun
|

|
